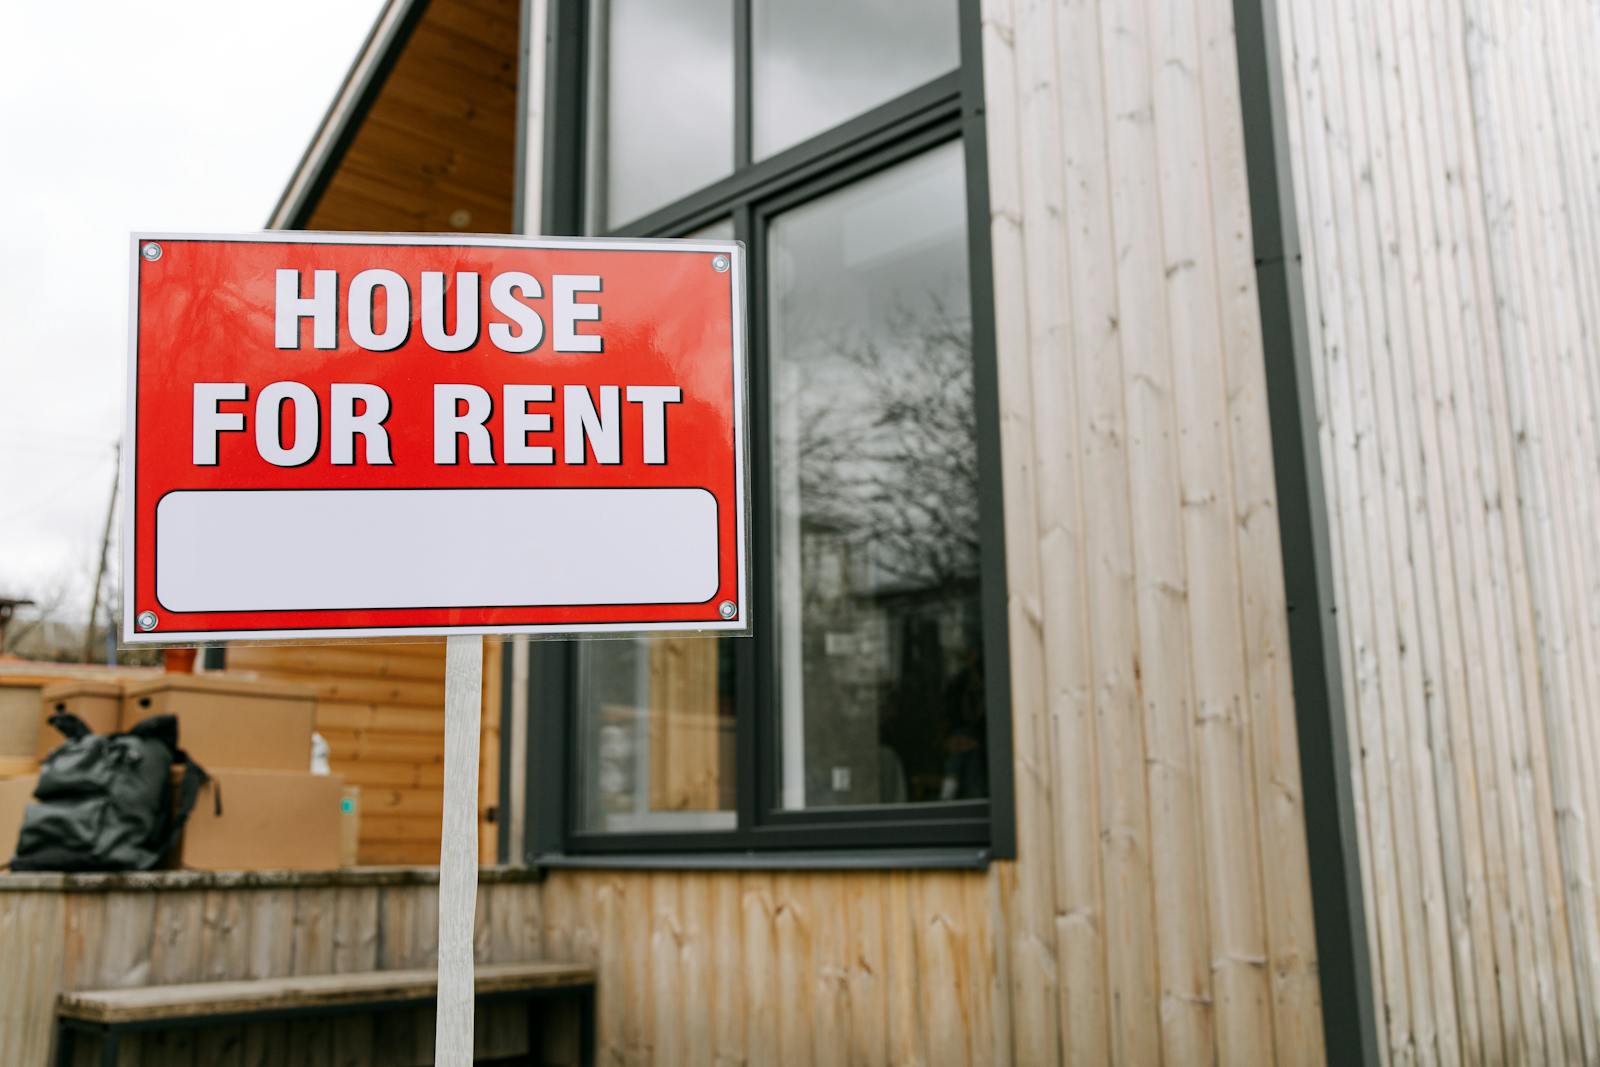

Selling a home feels like a big project. With a clear plan, the process feels easier, calmer, and more successful. A simple checklist helps you focus on jobs which matter most, from repairs to presentation. This guide walks through practical steps for sellers who want strong offers and fewer surprises.
Step 1: Set your goals and timings
Start with your reason for selling. Are you moving for work, upsizing, downsizing, or releasing equity. Your goal influences price expectations, timescale, and how much work you complete before launch.
Decide:
• When you hope to go on the market.
• The earliest date you would move.
• Your minimum acceptable sale price.
Write these points down. Clear targets help you weigh up offers later, especially once viewings start.
Step 2: Review your finances
Before you spend money on upgrades, check the numbers. Speak with your lender or a broker about:
• Any early repayment charges on your mortgage.
• Porting your mortgage to a new property.
• How much equity sits in the home.
Look at recent sold prices in your area, not only asking prices. This gives a realistic range for value. A local agent or valuer provides extra context on demand and buyer profiles in your street and postcode.
Step 3: Declutter and depersonalise
Buyers need to picture their life in the space. Too many belongings distract from room size and layout.
Work room by room. Remove excess furniture, ornaments, paperwork, and toys. Keep surfaces clear, with only a few neat items in view. Pack away family photos, collections, and bold personal décor.
This step helps two ways. Rooms feel larger and calmer for viewings, and you complete a chunk of packing before moving day.
Step 4: Fix small issues buyers notice
Minor faults suggest poor maintenance, even when structure and systems sit in good shape. Walk through your home with a fresh eye and a notepad.
Look for:
• Dripping taps or running loos.
• Peeling sealant around baths and sinks.
• Loose handles, stiff locks, or squeaky hinges.
• Cracked or chipped tiles.
• Scuffed paint on doors and skirting.
Tackle these jobs before photos. Simple repairs reduce reasons for buyers to negotiate hard on price.
Step 5: Refresh key rooms
Not every home needs a full makeover. A light refresh in the right areas often has more impact than expensive upgrades. Focus on:
Hallway
This is the first space buyers see inside. Clear shoes and coats, add a small mirror, and keep lighting warm and bright.
Living room
Arrange furniture to open the room and frame the best feature, such as a fireplace or window. Neutral throws and cushions pull the space together.
Kitchen and bathroom
Deep clean cupboards, worktops, grout, and appliances. Replace tired sealant and repair broken handles. Fresh tea towels, a tidy worktop, and clean shower screens make a strong impression.
Step 6: Improve kerb appeal
Many buyers form an opinion before they reach the front door. A tidy exterior sends a message about care and maintenance.
Simple jobs include:
• Cleaning windows and frames.
• Sweeping paths and clearing weeds.
• Mowing lawns and trimming hedges.
• Repainting the front door where needed.
• Adding a new doormat and a healthy plant by the entrance.
A smart front view helps your online listing as well as first impressions on viewing day.
Step 7: Get paperwork ready
Buyers and solicitors ask for information on the property. Preparing documents early helps your sale move forward without delay.
Gather:
• Title deeds or information from your solicitor.
• Boiler service history and guarantees.
• Electrical certificates where available.
• Planning permission and building control documents for any past work.
• Warranties for windows, damp proofing, or insulation.
Create a folder, digital or physical, so details sit in one place. Buyers feel more confident when they see clear records for the home.
Step 8: Plan for photography and viewings
Strong photos attract more clicks and more viewing requests. Once your home looks tidy and fresh, walk through with your agent and discuss angles and key features.
On photo day and for viewings:
• Open curtains and blinds to let in as much natural light as possible.
• Turn on lamps for a warm feel.
• Hide bins, laundry, and pet items.
• Clear kitchen worktops and bathroom surfaces.
• Make beds neatly and smooth bedding.
Keep a short pre-viewing routine written on a list near the door. Before each appointment, move quickly through the home, follow the list, and leave the space calm and ordered.
Step 9: Work with a trusted local expert
The right agent gives guidance on pricing, presentation, and timing. Local knowledge about buyer demand, schools, transport, and future plans for the area supports your decision making.
When you meet agents, ask about:
• Recent sales for similar homes.
• Average time on market.
• Marketing approach and photography.
• How they handle viewings and feedback.
Choose someone who listens, explains clearly, and offers honest advice, not only flattery. This partnership sits at the centre of a smooth sale.
Ready to talk through your next steps
Preparation before launch often leads to stronger offers and fewer hiccups later in the process. By setting clear goals, fixing small issues, and presenting each space with care, you give buyers every reason to feel confident about your home.
If you feel ready for tailored guidance on your sale, reach out to Karin Sells Real Estate for selling advice. You will receive friendly, professional advice on pricing, presentation, and strategy so your move starts on the strongest possible footing.